How to Remove Your LinkedIn Photo Background (Free)
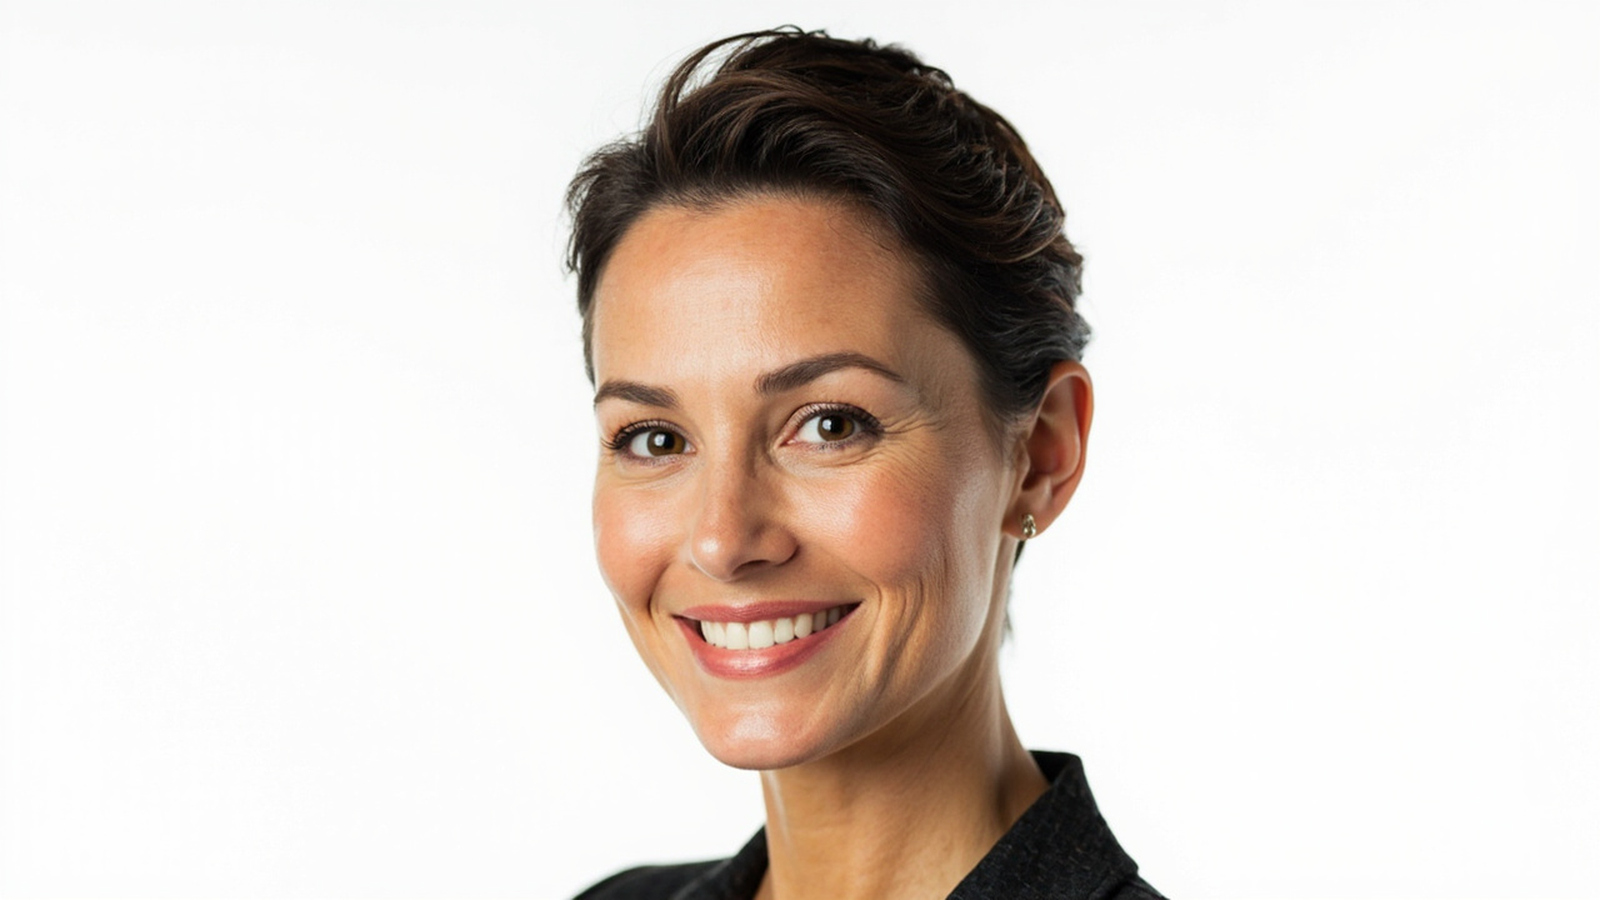
Your LinkedIn profile photo is the first impression recruiters, potential clients, and professional contacts see — often before they read a single word of your headline. A clean, distraction-free background tells viewers you pay attention to detail. A cluttered one tells them the opposite.
LinkedIn’s own research consistently shows that profiles with photos outperform text-only profiles across multiple engagement metrics, and a polished background is one of the easiest ways to make your photo work harder. If you’re searching for a way to remove background from linkedin photo, this guide walks you through the 2026 best practices, the official LinkedIn photo size rules, and the free AI tools that can do it in under five seconds.
Ready to clean up your photo? Try NoBG free to remove your LinkedIn photo background →
LinkedIn Profile Photo Size Rules (2026 Update)
Before we touch any tools, let’s lock down the technical requirements. LinkedIn has specific rules for profile photos, and starting from the right source dimensions saves time later.
| Spec | Requirement |
|---|---|
| Recommended size | 400 × 400 pixels |
| Minimum size | 200 × 200 pixels |
| Maximum size | 7680 × 4320 pixels |
| Aspect ratio | 1:1 (square) |
| Max file size | 8 MB |
| Accepted formats | JPG, PNG, GIF (non-animated) |
| Display crop | Circular |
LinkedIn displays your profile photo as a circle, which means the corners of your square source image get hidden. The visible area — roughly the inscribed circle inside a 400 × 400 square — covers most of your face, shoulders, and the area immediately behind your head. This is exactly the region that needs to be clean.
A square source photo also gives LinkedIn room to position your face in the upper-center, which is where most viewers’ eyes land first. If you upload a non-square image, LinkedIn will auto-crop, often cutting off the top of your head or your shoulders. Portrait-oriented photos at 4:5 or 3:4 aspect ratios are common casualties of LinkedIn’s square crop — the top of your head or your collar ends up cut off. Either start with a square crop or use an AI tool that lets you reframe after background removal.
If you’re uploading from a phone, the standard iPhone or Android portrait mode produces a 4:3 or 3:4 frame. Before uploading to LinkedIn, either manually crop to 1:1 in your phone’s photo editor, or process through NoBG with the white background option to produce a square JPG that’s already correctly cropped.
Want to skip the photo editing entirely? NoBG gives you a perfect transparent background in 3 seconds →
What You Need Before You Start
Before diving into the step-by-step process, here’s the full list of things you’ll need. Most professionals already have everything except the AI tool — and the AI tool is free.
| Tool / Resource | Purpose | Where to get it | Cost |
|---|---|---|---|
| Your source photo | The image you’ll edit — ideally 400 × 400 px or larger, square aspect ratio, well-lit, face clearly visible | Take it on your phone or webcam; existing photos work too | Free (you already have it) |
| Web browser | Chrome, Safari, Firefox, or Edge — any modern browser from the last 3 years works | Already on your computer | Free |
| NoBG account (optional) | The AI background remover — handles portrait photos in 3 seconds, free tier unlimited for standard quality | nobg.app | Free standard; paid for HD/batch |
| Photo editor (optional) | For cropping non-square source photos to 1:1 aspect ratio before upload — most phones have this built in | Built into iOS Photos, Android Gallery, or any free app | Free |
| LinkedIn account | Where you’ll upload the final result | linkedin.com | Free |
If you have a square source photo and a modern browser, you can complete the entire process in NoBG without any additional tools. The photo editor is only needed if your source photo is in portrait (4:5 or 3:4) and you want to crop it to square manually before background removal.
For most users, the recommended setup is: open NoBG in your browser, upload your photo, follow the steps below. That’s it.
Why Most LinkedIn Photos Have Bad Backgrounds (And How to Fix It)
If your current LinkedIn photo has a busy background, you’re not alone. Most professional headshots — even those taken on nice cameras — suffer from one of these problems:
- A cluttered home office with monitors, books, and cables visible behind you
- Harsh shadows cast on a blank wall by overhead lighting
- Passersby walking through the frame at exactly the wrong moment
- Inconsistent lighting that makes your face merge with the background
- Distracting patterns like wallpaper, posters, or busy curtains
- Visible logos from a former employer or client behind you
- A mirror or window that catches your flash or shows a reflection
Even photos that look fine on a phone screen can look cluttered when viewed on a desktop monitor at LinkedIn’s larger display size. The smaller the photo appears in the feed, the more important the background becomes — a busy background dominates the visual hierarchy and pushes your face into the background.
Traditionally, you had three options to fix a bad background:
- Re-shoot with a blank wall behind you — expensive in time (and possibly a photographer’s fee), and you’re still stuck with whatever color the wall is. A blank white wall also looks amateur in 2026; viewers expect either a soft gray, a branded backdrop, or transparent.
- Photoshop manual selection — slow, requires real skill, and a 10–30 minute edit per photo. Most working professionals don’t have an hour to spend on a profile picture. Photoshop’s “Select Subject” feature has improved, but still requires manual cleanup of edges.
- AI background remover — fast (3–10 seconds per photo), no skill required, often free. The quality gap between AI and manual Photoshop has collapsed to almost nothing for portrait photos.
For most professionals — job seekers, freelancers, founders, consultants — option 3 is the clear winner. It costs nothing, takes seconds, and produces results that look indistinguishable from a studio shot. The AI has gotten so good at detecting edges that the transparent background feature is now standard across most modern tools, and many handle flyaway hair, glasses, and hats with surprising precision.
Want to see AI background removal in action? Try NoBG →
Step-by-Step: Remove Background from Your LinkedIn Photo
Here’s the exact process using NoBG, our recommended free tool for the LinkedIn use case. The whole thing takes under five minutes from upload to final upload. Each step below shows what to click and what to expect.
Step 1 — Upload your photo
Open nobg.app/edit in any browser — Chrome, Safari, Firefox, or Edge all work. The upload page works on desktop and mobile, so you can complete the entire process from your phone if that’s where your source photo lives. Drag your photo into the upload area or click to choose a file from your device. JPG and PNG are both accepted, and files up to 25 MB are supported.
For best results, use a photo where you’re looking directly at the camera, your face is clearly visible, and there’s no hat or sunglasses obscuring your features. The AI works best when it can identify your face as the primary subject — photos taken from the front, with even lighting on both sides of your face, produce the cleanest cutouts.
Standard portrait orientation works best: full-face, well-lit, ideally taken from a phone or webcam at arm’s length. A photo taken with your phone’s front camera at arm’s length is more than enough resolution — most phones capture 12+ megapixel selfies, which is well above the 400 × 400 LinkedIn display size and gives the AI plenty of pixels to work with.
If your source photo is in landscape or non-square portrait (4:5, 3:4), either crop it to 1:1 first using your phone’s built-in photo editor, or proceed to background removal and crop in NoBG’s editor afterward. The AI doesn’t require square input, but LinkedIn will need a square output.
Step 2 — AI detects and removes the background
Within 3–5 seconds, the AI identifies your figure (face, hair, shoulders, accessories) and removes everything behind you. The model is trained on portrait photos specifically, which means it handles faces, hair, glasses, hats, earrings, and other accessories with high precision. Unlike generic background removers that struggle around flyaway hair or transparent eyeglass frames, NoBG’s portrait-trained model produces clean cutouts in most cases.
The result is a transparent PNG with you cleanly cut out. You’ll see a preview showing your figure on a checkerboard background (the standard visual indicator for transparency). If the result doesn’t look right on the first pass — for example, if the AI cut off part of your hair or included a piece of background — click “Try again” to re-run with the same input, or refine the input by cropping tighter around your face and shoulders.
What the AI is doing under the hood is image segmentation: it identifies the foreground subject pixel by pixel and separates it from the background. Modern deep learning models can do this in under five seconds for a typical portrait photo, which is why AI background removal has effectively replaced manual Photoshop selection for most use cases.
Try it on your own photo — NoBG free →
Step 3 — Choose your new background
After the AI removes the original background, NoBG presents you with three options for the area behind you:
- Transparent — best if you plan to layer your photo onto another image later, or if you trust LinkedIn’s own background. LinkedIn will composite your photo onto its own solid background. A transparent PNG also gives you maximum flexibility if you reuse the photo on multiple platforms.
- Solid color — pick white, a brand color, or any custom RGB value. Solid colors work well if you want your photo to match a corporate template. Many companies now use a consistent headshot background across the team — a white background is the safest, most universally accepted choice for cross-platform use, since it photographs well next to most other design elements.
- Custom background — upload an office shot, a gradient, or a branded backdrop. Useful if you’re using the same headshot across multiple platforms and want visual consistency. Note: busy custom backgrounds will reintroduce the very problem you’re trying to solve, so keep custom backgrounds simple and low-contrast.
For most LinkedIn users, transparent or solid white is the safest choice — it lets LinkedIn’s circular crop do its work without competing visual elements. If you’re uploading to a corporate team page where other members have white backgrounds, matching white keeps the team visual consistent.
Step 4 — Download as PNG (with transparency) or JPG (with solid background)
Once you’ve chosen your background, click the download button. If you kept the background transparent, download as PNG to preserve the alpha channel — this is critical, because JPG doesn’t support transparency and will fill the background with white. If you applied a solid color or custom image, JPG is smaller and perfectly fine — LinkedIn will compress it further anyway.
For LinkedIn specifically, a JPG between 100–500 KB is the sweet spot: small enough to upload fast, large enough to look sharp at LinkedIn’s display sizes (which range from 48 × 48 in the feed to 400 × 400 on your profile page). PNG with transparency is typically 200–800 KB for a typical headshot — well within LinkedIn’s 8 MB limit.
Save the file with a clear name (e.g., linkedin-headshot-2026-08.png) so you can find it again when it’s time to upload. If you process multiple versions — transparent, white, custom — save all of them; you may want different versions for different platforms (LinkedIn, Slack, company website, email signature). Once saved, the file is ready to upload to LinkedIn in the next step — no further processing required. Before moving on, open the downloaded file in your phone’s gallery or computer’s image viewer to double-check it looks correct: face cleanly cut out, no halo around hair, no background remnants visible, file opens properly. If anything looks off, repeat Step 2 with a refined input.
Step 5 — Upload to LinkedIn
On LinkedIn, click the Me icon at the top of your homepage → View profile → click the camera icon on your current photo → Upload your new image from your computer or device. LinkedIn accepts JPG, PNG, and GIF (non-animated) up to 8 MB. The upload usually completes in 1–3 seconds on a typical broadband connection.
After upload, LinkedIn will let you reposition the photo within the circular frame; the auto-position is usually correct, but you can drag to adjust the framing — moving your face slightly higher or lower in the circle can affect how much shoulder and background is visible. Take a moment to preview both the small version (which appears in feeds and connection lists) and the larger version (which appears on your profile page) to make sure both look good.
Once you’re happy with the crop, click Save, and your new photo is live. LinkedIn will notify your recent connections about the change, which can drive a small spike in profile views — useful if you’re actively job searching or networking. The change also appears in your activity feed for anyone who has notifications turned on.
Done. Your profile now has a clean background. Take a moment to view your profile in both light and dark mode to make sure the photo still looks good against LinkedIn’s white and dark-gray backgrounds.
If you regularly process multiple photos — conference headshots, team pages, event badges — check out NoBG’s batch processing feature and pricing plans to save time.
Before-and-After: What a Clean Background Does
If you’re still on the fence about whether background removal is worth the five minutes, here are the typical transformations we see:
Before: A user has a photo taken in their home office. Behind them, you can see two monitors displaying spreadsheets, a stack of books, and a partially visible poster. The lighting is uneven, with one side of the face brighter than the other. The viewer’s eye is pulled to the cluttered background rather than the user’s face.
After: Same user, same lighting, same clothing. The background has been replaced with a clean transparent (or solid white) layer. Now the viewer’s eye lands directly on the user’s face. The professional impression is dramatically stronger, even though the actual photo content hasn’t changed.
This is the entire value proposition of AI background removal: the subject doesn’t change, the framing doesn’t change, the lighting doesn’t change — only the visual noise behind the subject is removed. For a platform where your face is the first thing people see, removing the noise is the highest-impact five-minute improvement you can make.
Best Free Background Removers for LinkedIn (4 Tools Compared)
Not every background remover is built for the LinkedIn use case. Here’s an honest comparison of the four tools most likely to come up in your search, so you can pick the right one for your situation.
| Tool | Free tier | Speed | Edge quality | Best for |
|---|---|---|---|---|
| NoBG | Unlimited standard quality | ~3 sec | Excellent on hair, glasses | LinkedIn profile photos specifically |
| erase.bg | Low-res preview only | ~5 sec | Very good | One-off personal photos |
| Removedo | No permanent free tier | ~8 sec | Good | Recruiter-quality headshots (paid) |
| CapCut | Free with editor | ~5 sec | Good | Users already in CapCut for video |
NoBG is a dedicated web app optimized for portrait photos. The free tier delivers unlimited standard-quality downloads, which is more than enough resolution for LinkedIn’s 400 × 400 display. No sign-up is required for standard quality, and the AI is trained on faces, hair, and accessories — so glasses, hats, and earrings come through cleanly. It’s the tool we recommend for anyone whose main goal is a polished LinkedIn photo. Try NoBG free →
erase.bg is an established general-purpose background remover. The free tier only gives you a low-resolution preview — to get the full-quality PNG you need to sign up and pay. For one-off personal use it works, but the pay-per-credit model gets expensive if you need to process photos regularly.
Removedo specializes in headshot-quality background removal. The edge detection is excellent, especially around fine hair. The catch: there’s no permanent free tier. You can try a limited preview, but downloading a full-resolution result requires a paid plan starting around $12/month. If you’re a recruiter processing dozens of headshots per week, the bulk pricing might make sense; for an individual updating their own LinkedIn, it’s overkill.
CapCut is a full-featured editor that includes background removal. If you’re already using CapCut for video or social media, the convenience of one editor for everything is real. The downside is that background removal is buried inside the editor — it’s not a standalone tool, and the AI isn’t specialized for portraits, so edge quality on tricky details (loose hair, transparent frames) lags behind the dedicated tools. If your workflow already lives in CapCut, this is a reasonable secondary choice.
For the LinkedIn use case specifically — one photo, free, fast, edge quality that holds up at 400 × 400 — NoBG wins. Pick NoBG if you want a fast, free, dedicated tool. Start here →
If you need HD output or batch processing of multiple headshots, see NoBG’s pricing.
Common Mistakes to Avoid When Editing Your LinkedIn Photo
A clean background is only half the battle. Here are the five mistakes we see most often — and how to avoid each one.
Mistake 1: Leaving a halo around hair. This is the telltale sign of a low-quality background remover — a thin pale ring where the AI couldn’t quite separate individual hairs from the background. NoBG’s portrait-trained model largely avoids this, but if you see halos in your result, try processing a higher-resolution source photo. A 1080p or higher source gives the AI more pixels to work with around the edges.
Mistake 2: Forgetting that LinkedIn crops circularly. The corners of your square image get hidden. Keep important visual elements (your face, your shoulders, any visible collar or jewelry) within the inscribed circle. Leave a small breathing-room buffer at the top of the frame. The safest framing is to position your eyes about 40% from the top of the image — this gives you good headroom and prevents the top of your head from being cut off in some LinkedIn UI contexts.
Mistake 3: Choosing a background color that clashes with LinkedIn’s UI. LinkedIn’s default chrome is white in light mode and dark gray in dark mode. A bright red or neon green background will look jarring. Safe choices: transparent, white, soft gray, navy, or a desaturated brand color. If your company has a brand color, consider whether it photographs well against human skin tones — saturated reds and oranges can cast unflattering color reflections on your face.
Mistake 4: Over-smoothing your skin in post. Heavy skin retouching reads as untrustworthy on LinkedIn — viewers instinctively distrust faces that look airbrushed. Skip the beauty filter; let your actual skin texture show through. The background is what should look polished, not your face. Studies on professional headshot perception consistently show that natural skin texture is associated with trustworthiness and competence.
Mistake 5: Using a busy or branded custom background. Custom backgrounds (your office, a conference booth, a team photo) draw attention away from your face. LinkedIn’s value proposition is professional networking, and a simple background keeps the focus on you. The exception: if your role is so tied to a specific environment (a chef in a kitchen, a lab researcher in a lab) that the environment itself adds context. For most corporate and knowledge-work roles, plain is better.
Want a natural-looking AI background removal that handles hair and glasses correctly? Try NoBG in 3 seconds →
When to Use a Blurred Background Instead
Sometimes removing the background entirely isn’t the right move. If your source photo has natural depth — a soft-focus office, a window with daylight — you might want to keep the background but blur it, the way portrait mode on modern phones does.
This is called a “bokeh” effect in photography. It keeps the visual context (you were in an office, at an event, in a meaningful place) but reduces it to soft colors and shapes so it doesn’t compete with your face for attention. Tools like NoBG’s blur background feature let you keep the original scene while applying a Gaussian blur to the background only.
The trade-off: blurred backgrounds look professional but they can also look like the photo was taken on a phone with portrait mode, which can feel less “intentional” than a clean transparent background. For most LinkedIn users, transparent or solid is the safer choice. For creative professionals — designers, photographers, architects — a tastefully blurred background can actually enhance the photo’s storytelling.
Putting It All Together
A clean LinkedIn photo background isn’t optional anymore — it’s table stakes for a professional online presence. The good news is that the tools to get one have caught up with the problem: free, fast, and capable of producing results that look like a studio shot.
Here’s the path in three steps:
- Confirm your source photo is at least 400 × 400 pixels, square, well-lit
- Run it through NoBG to remove the background in 3 seconds
- Upload the result to LinkedIn — you’re done
If you’re processing more than one photo — a team page, conference headshots, multiple speaker bios — NoBG’s batch processing saves hours. See pricing for batch and HD plans.
Remove your LinkedIn photo background now with NoBG →
Quick Reference: LinkedIn Profile Photo Specs (2026)
For convenience, here’s the LinkedIn profile photo specification in one place. Save this for the next time you update your photo or help a colleague.
| Spec | Value |
|---|---|
| Recommended dimensions | 400 × 400 px |
| Minimum dimensions | 200 × 200 px |
| Maximum dimensions | 7680 × 4320 px |
| Aspect ratio | 1:1 (square) |
| Max file size | 8 MB |
| Accepted formats | JPG, PNG, GIF (non-animated) |
| Display shape | Circular crop |
Quick Reference: Top Free Background Removers for LinkedIn
| Tool | URL | Free? | Best for |
|---|---|---|---|
| NoBG | nobg.app/edit | Yes, unlimited standard quality | LinkedIn profile photos |
| erase.bg | erase.bg | Low-res preview only | Occasional one-off use |
| Removedo | removedo.com | Trial only | Recruiter bulk processing |
| CapCut | capcut.com | Free in editor | Users already in CapCut |
Both tables are designed to be skim-friendly for LinkedIn users comparing options at a glance.
Need help with NoBG?
Our Help Center covers the common questions. If you're trying it for the first time, start with the quick-start guide.